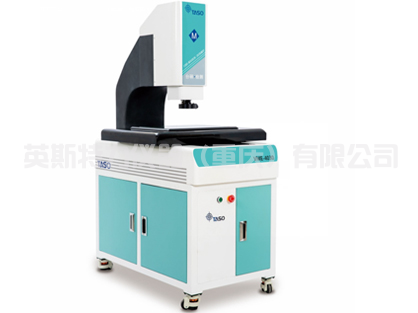
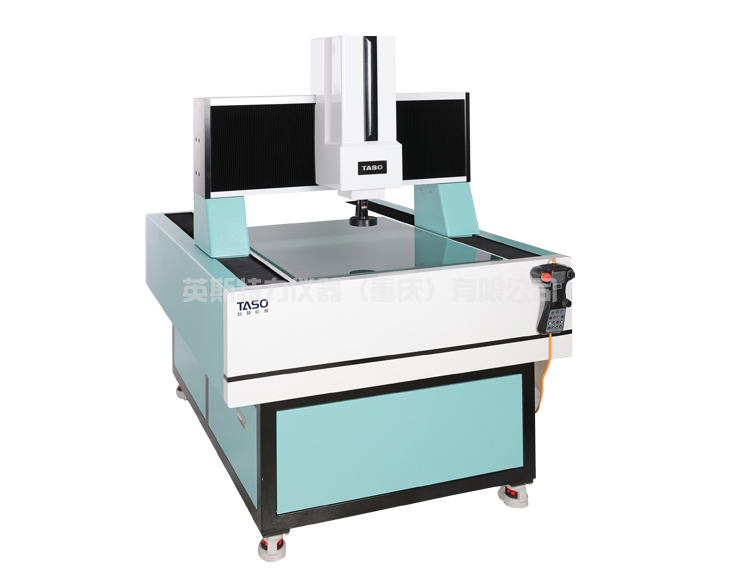
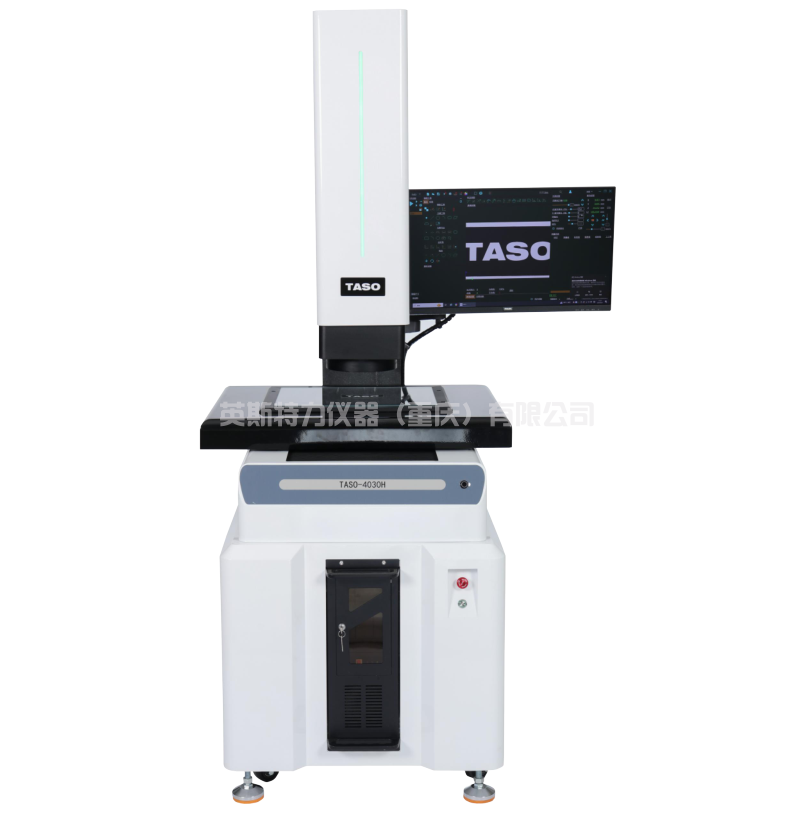
硬度计的种类很多。 金属洛氏、布氏和维氏硬度计是工矿企业和科研单位最常用的。 其中金属洛氏硬度计和金属布氏硬度计是相对于金属维氏硬度的。 结构简单。 修复常见故障并不是很困难。 下面介绍一下金属维氏硬度计的常见故障调整。
根据多年来的工作实践,在开始校验和维修工作之前,应先调整工作台的水平,然后观察主轴、杠杆、起重丝杠、缓冲机构和测量装置是否正常灵活。 确保对设备性能有基本的了解。 然后一一解决。
(1)加载指示灯和测量显微镜灯不亮
先检查电源是否接好,再检查开关、灯泡等。如果排除这些因素后不亮,就要看负载是否满负荷或干簧管是否正常。 排除后还是不正常,需要先从线路(电路)入手,逐步检查。
(2) 测量显微镜下浑浊,压痕看不到或看不清楚
这应该从调整显微镜的焦距和光线开始。 如果调整后仍不清楚,分别转动物镜和目镜,分别移动镜中虚线、实线和刻线的三个平面镜,仔细观察哪个镜面有问题。 然后拆下,用长纤维脱脂棉和无水酒精擦拭,按相反顺序安装,观察,若仍不能解决,送修或更换千分尺。
(3)压痕不在视野内或工作台轻微转动,压痕位置变化较大
原因是压头、测量显微镜和工作台的轴线不同。 由于压头固定在工作轴的底端,因此按以下顺序单独调整。
①调整主轴下端的活动间隙,使导向座下端面不与主轴锥面直接接触;
②调整转轴一侧的螺丝,使工作轴与主轴在同一(轴线)中心。 调整好后,在试块上压一个压痕,在显微镜下观察其位置,并记录下来;
③轻轻转动工作台(保证试块在工作台上不动),在显微镜下找到试块上不转动的一点,该点就是工作台的轴线;
④稍微松开升降螺杆压板上的螺钉和底部螺钉,将整个升降螺杆轻轻移动,使工作台轴线与测量显微镜记录的压痕位置重合,然后拧紧压紧螺钉 板和调节螺钉,并压出一个相互对比的压痕。 重复上述步骤,直到完全重叠。
(4)校验时示值超差的原因及解决方法
①测量显微镜的刻度不准确。 用标准千分尺检查。 如果不允许,可以送去维修或更换。
②金刚石压头有缺陷。 用80倍体视显微镜观察,看是否符合金刚石压头验证规定的要求。 如果有缺陷,请更换压头。
③如负载(荷重)超过规定要求或负载不稳定,用小负载三级标准测功机检查。 如果负载超过要求(±1.0%)但方向相同,这种情况下杠杆比发生了变化,可以松开主轴保护帽,转动电源触点,调整负载(杠杆比), 并在调整后拧紧。 如果负载不稳定,可能是受力点叶片钝化、支点钢球磨损、工作轴与主轴不对中、工作轴内摩擦力大等原因造成的。 此时,检查刀片和钢球。 如果它们变钝或磨损,则应修剪或更换它们。 检查工作轴并进行清洁。 务必注意将钢球对准轴周围。 同(轴)心的调整见步骤3。
(5)加载时有冲击现象
发生这种情况是因为缓冲油太低或油太脏。 一般加满油或清洗缓冲器后即可解决。
英斯特力仪器是一家集研发、生产及销售于一体的 影像测量仪,拉力试验机, 硬度计 ,探伤仪, 粗糙度仪, 测厚仪, 金相设备厂家, 致力于为客户提供更好的检测仪器。
There are many kinds of hardness meters. Rockwell, Brinell and Vickers hardness testers are the most commonly used in industrial and mining enterprises and scientific research institutes. Metal Rockwell hardness tester and metal Brinell hardness tester are relative to metal Vickers hardness. Simple structure. Fixing common faults is not too difficult. The following introduces the common fault adjustment of metal Vickers hardness tester.
According to years of work practice, before starting the calibration and maintenance work, should first adjust the level of the table, and then observe the spindle, lever, lifting screw, buffer mechanism and measuring device is normal and flexible. Ensure basic understanding of equipment performance. And then work it out.
(1) Loading indicator light and measuring microscope light are not on
First check whether the power supply is connected, and then check the switch, bulb, etc. If the exclusion of these factors does not light, it is necessary to see whether the load is full load or dry spring tube is normal. After elimination or abnormal, need to start from the line (circuit), step by step check.
(2) Turbidity under the measurement microscope, indentation can not be seen or seen clearly
This should begin by adjusting the focus and light of the microscope. If the adjustment is still not clear, rotate the objective lens and eyepiece respectively, and move the three plane mirrors of dashed line, solid line and cut line respectively in the mirror to carefully observe which mirror has problems. Then remove, wipe with long fiber absorbent cotton and anhydrous alcohol, install in the opposite order, observe, if still cannot solve, send repair or replace micrometer.
(3) The indentation is not in the field of vision or the table rotates slightly, and the indentation position changes greatly
This is due to the different axes of the indenter, measuring microscope and table. Since the head is fixed at the bottom of the working shaft, it is adjusted separately in the following order.
(1) Adjust the active clearance of the lower end of the spindle, so that the lower end face of the guide seat is not in direct contact with the spindle cone;
② Adjust the screws on one side of the rotating shaft, so that the working shaft and the main shaft are in the same (axis) center. After adjustment, press an indentation on the test block, observe its position under the microscope, and record;
(3) gently turn the table (ensure that the test block does not move on the table), under the microscope to find the test block does not rotate a point, the point is the axis of the table;
④ Loosen the screw and the screw at the bottom of the lifting screw press plate slightly, move the whole lifting screw gently, so that the axis of the workbench and the indentation position recorded by the measuring microscope coincide, and then tighten the screw plate and the adjusting screw, and press out a contrast indentation. Repeat the steps until they overlap completely.
(4) Reasons and solutions for out-of-tolerance of the display value during calibration
① The scale of measuring microscope is not accurate. Check with a standard micrometer. If not, it can be sent for repair or replacement.
② The diamond indenter has defects. Observe with 80 ploidy microscope to see if it meets the requirements of diamond indenter verification. If defective, replace the head.
③ If the load (load) exceeds the specified requirements or the load is unstable, check with the three-level standard dynamometer with small load. If the load exceeds the requirement (±1.0%) but in the same direction, in which case the lever ratio changes, the spindle protection cap can be loosened, the power contact can be turned, the load (lever ratio) can be adjusted, and tightened after adjustment. If the load is unstable, it may be caused by passivation of the blade at the stress point, wear of the steel ball at the fulcrum, misalignment between the working shaft and the main shaft, high friction in the working shaft, etc. At this point, check the blade and ball. If they become dull or worn, they should be trimmed or replaced. Check working shaft and clean it. Be sure to align the steel ball around the shaft. See Step 3 for alignment with (axis) center.
(5) There is impact phenomenon when loading
This happens because the buffer oil is too low or the oil is too dirty. It can be solved after filling up the oil or cleaning the buffer.


 客服1
客服1 